If you have never had a concrete driveway installed before, the process can seem like a black box. You call a contractor, they show up with a truck, and a few days later you have a new driveway. But what actually happens in between? And what should you — as the homeowner — be watching for to make sure the job is done right?
Flat Rock Concrete Construction believes an informed homeowner is a better client and a more satisfied one. We want you to understand exactly what we do and why we do it, because the things that make a concrete driveway last 40 years are not always visible at the surface. Here is a complete walkthrough of the concrete driveway installation process, written for Macomb County homeowners who want to understand what they are investing in.
Step 1: The On-Site Estimate
A legitimate concrete contractor will always visit your property before providing a quote. Driveway projects cannot be estimated accurately from a photo or a description. The contractor needs to assess the site slope, the condition of the existing driveway, sub-base access, and any drainage considerations specific to your property.
At the estimate, ask about the concrete mix specification they plan to use, the depth of the sub-base preparation, the reinforcement plan, and how they handle curing. A contractor who cannot answer these questions clearly — or who gives you a quote on the spot without walking the site — is one to be cautious about.
Step 2: Demolition and Removal of the Existing Driveway
Unless you are installing concrete over bare ground or an unpaved surface, the existing driveway must be removed first. We use equipment to break up the old concrete or asphalt, then haul the debris entirely off your property. This typically takes a portion of the first day depending on the size of the driveway and the equipment available.
During demolition, an experienced crew is also evaluating what they uncover beneath the surface. The condition of the sub-base material is important information. If we find soft spots, voids, or significant erosion beneath the old slab, that changes the scope of the sub-base preparation needed.
Step 3: Sub-Base Preparation — The Most Important Step
This is the step that most homeowners never see once it is complete, which makes it easy to cut corners on — and some contractors do. Sub-base preparation is what separates a concrete driveway that lasts 40 years from one that begins cracking within five.
The sub-base is typically four to six inches of compacted gravel aggregate. It serves two critical functions: it provides drainage so that water does not pond beneath your slab, and it distributes the weight of vehicles evenly across the soil below rather than concentrating it in single points.
In Macomb County, where clay soils are common, proper sub-base preparation is especially important. Clay retains water and is susceptible to frost heave — the expansion of saturated soil as it freezes. A well-drained gravel sub-base reduces moisture content in the material beneath your driveway, significantly reducing the risk of frost heave.
Step 4: Setting the Forms
Wood or steel forms are staked along the edges of the planned driveway to contain the concrete during the pour and establish the finished height and slope of the surface. This step is where the drainage design gets built in.
A properly formed driveway has a slight cross-slope — typically a quarter inch of fall per foot of width — that directs water off the surface and toward the edge. The forms also establish any grade change from the garage apron to the street. Getting the forms right is critical because once the concrete is poured, there is no adjusting the slope.
Step 5: Reinforcement Installation
Before the concrete is poured, reinforcement is placed within the form. For residential driveways, this is typically wire mesh or rebar on a grid pattern, elevated slightly off the sub-base so that it sits within the middle portion of the slab rather than at the bottom.
Reinforcement does not prevent cracking — no concrete driveway is crack-free over its lifetime. Reinforcement holds the slab together after cracking occurs, preventing sections from shifting or separating. A reinforced slab that cracks at a control joint remains functionally sound. An unreinforced slab that cracks in the field can develop significant offset between sections.
Step 6: The Pour
A ready-mix concrete truck arrives at your property with a precisely specified mixture for the project. For Michigan residential driveways, we typically specify a minimum 4,000 PSI air-entrained concrete mix. Air entrainment is non-negotiable in this climate — microscopic air bubbles are incorporated into the mix during batching, creating space that allows the concrete to accommodate the expansion and contraction of freeze-thaw cycles without surface damage.
The crew works quickly once the pour begins. Concrete has a limited working window before it begins to set, and the entire slab must be poured, screeded, and positioned within that window. The concrete is poured into the forms, then screeded flat using a long straightedge or screed board pulled across the form tops.
Step 7: Finishing
After screeding, the surface is floated — worked with a bull float to bring a thin layer of cement paste to the surface and push aggregate below. This creates the smooth, workable surface on which the final texture is applied.
For residential driveways, the standard finish is a broom finish — a stiff bristle broom is dragged across the surface in straight lines or gentle arcs to create a uniform texture. This texture is practical, not decorative: it creates friction for vehicle tires and foot traffic and is much more durable over time than a smooth-troweled surface.
Control joints are cut at regular intervals — typically every 8 to 10 feet — across the width of the driveway. These joints give the concrete a designated location for cracks to form as it shrinks during curing and expands and contracts with temperature changes. A properly placed control joint keeps any cracking neat, predictable, and largely invisible.
Step 8: Curing
Curing is the final step and one that is frequently underestimated. Immediately after finishing, a liquid curing compound is applied to the surface to slow moisture evaporation and support the ongoing hydration reaction. Concrete does not dry — it cures. The difference matters. Concrete that loses moisture too quickly develops surface cracks and fails to reach its design strength.
We advise Macomb County homeowners to keep foot traffic off the driveway for at least 48 hours and vehicles off for 7 full days. By day 28, concrete has reached approximately 90% of its design strength, with full strength developing over the next several months. During the first winter, avoid using rock salt on the surface — sand is a safer alternative for traction.
Ready to Start Your Project?
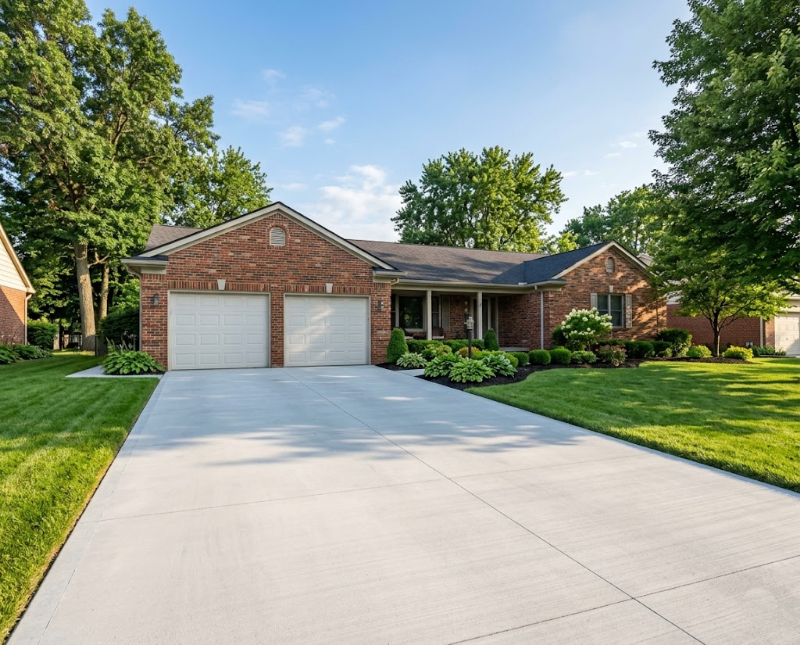
Now that you know what is involved in a quality concrete driveway installation, you are in a better position to evaluate bids and ask the right questions. Flat Rock Concrete Construction follows every step in this guide on every project we take on in Macomb County. Contact us today for a free estimate and let us walk you through what your specific project requires.